

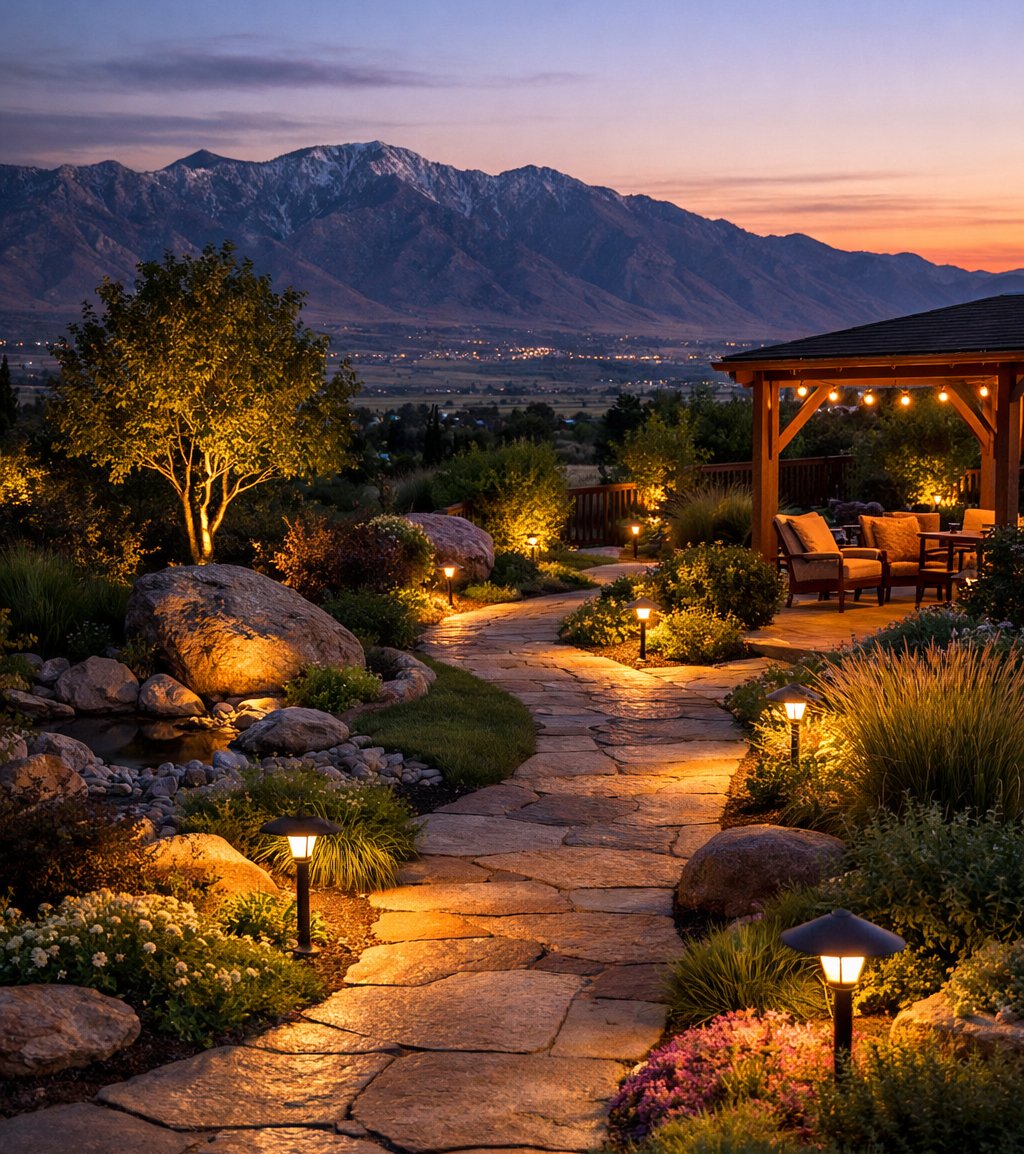
A well-lit garden walkway does two jobs at once: it makes your landscape safer, and it makes the whole yard feel intentional, elegant, and finished. When walkway lighting is done right, people do not just see the path, they feel guided through the space. When it is done poorly, it creates glare, harsh shadows, and that awkward “hotel parking lot” effect nobody asked for.
The good news is that you do not need to be a lighting designer or electrician to get great results. You just need a few smart principles, the right fixture types, and a little restraint. In outdoor lighting, more is usually not better. Better is better.
Start With the Purpose, Not the Fixtures
Before buying a single light, decide what you want the walkway lighting to do. Most homeowners want some combination of safety, beauty, and nighttime atmosphere. Those goals overlap, but they are not identical.
If your main goal is safety, your lighting should help people clearly see the edges, curves, steps, and surface changes of the path. If your goal is beauty, the lights should create rhythm, softness, and depth rather than blasting light everywhere. The best systems do both by placing light only where it is useful, keeping brightness modest, and choosing warm-colored fixtures instead of icy blue-white light. DarkSky recommends using light only where needed, keeping it no brighter than necessary, using controls when possible, and favoring warmer color temperatures.
Warm Lights Are Best!
That means the first big rule is simple: do not light the whole yard just because you can. Light the path, the transitions, and a few surrounding focal points. That is where the magic lives.
One of the fastest ways to make a garden walkway look high-end is to use warm light. For most homes and gardens, that means choosing fixtures around 2700K to 3000K. Warmer lighting feels inviting, flattering, and relaxed. Cooler light often looks stark and overly commercial, and it can create more visual strain at night. DarkSky specifically recommends warmer-color lighting and generally points homeowners toward 3000K or less for responsible outdoor lighting.
In plain English: if the bulb looks like moonlight mixed with a dentist’s office, it is too cold.
Warm light is especially effective in gardens because it complements mulch, stone, bark, brick, bronze, and most plant foliage. It also pairs beautifully with traditional, cottage, rustic, Mediterranean, and naturalistic landscapes. Even in modern landscapes, warm light usually looks richer and more expensive than bright white light.
Use Path Lights for Guidance, Not Floodlights
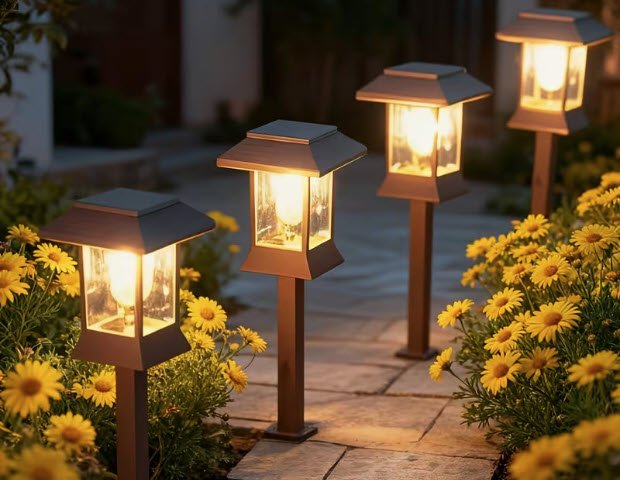
For walkways, the most useful fixture is the path light. These are the short fixtures that cast light downward onto the ground. Good path lights create overlapping pools of illumination that guide people along the route without shining directly into their eyes.
This is where many people go sideways. They line both sides of the path with evenly spaced lights every few feet, all at full brightness, and the result feels stiff and overdone. Instead, think of path lighting as visual punctuation. You want enough light to define the route, but not so much that every inch of concrete looks interrogated.
A better approach is to place lights where they solve a problem or create structure:
- near the start of the walkway
- at curves or direction changes
- at steps or grade changes
- near destination points such as gates, patios, or entryways
- where plants or borders help frame the path
In many cases, staggering lights rather than mirroring them from side to side creates a more natural, upscale look. It also avoids the “airport runway” problem, which is real and not nearly as glamorous as it sounds.
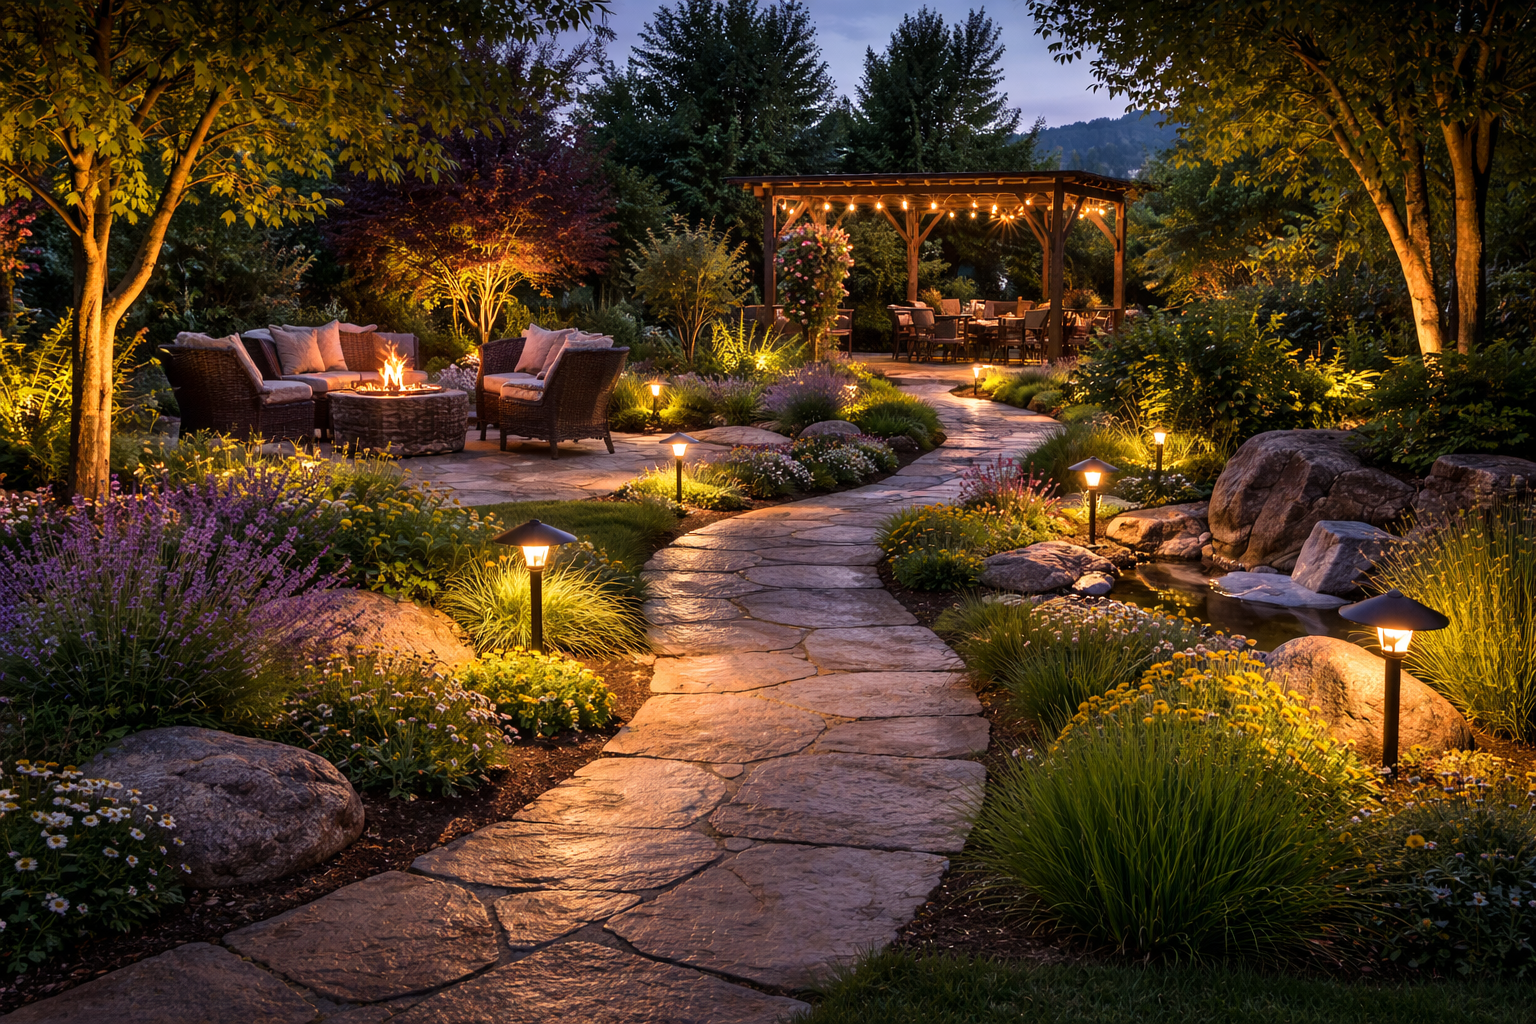
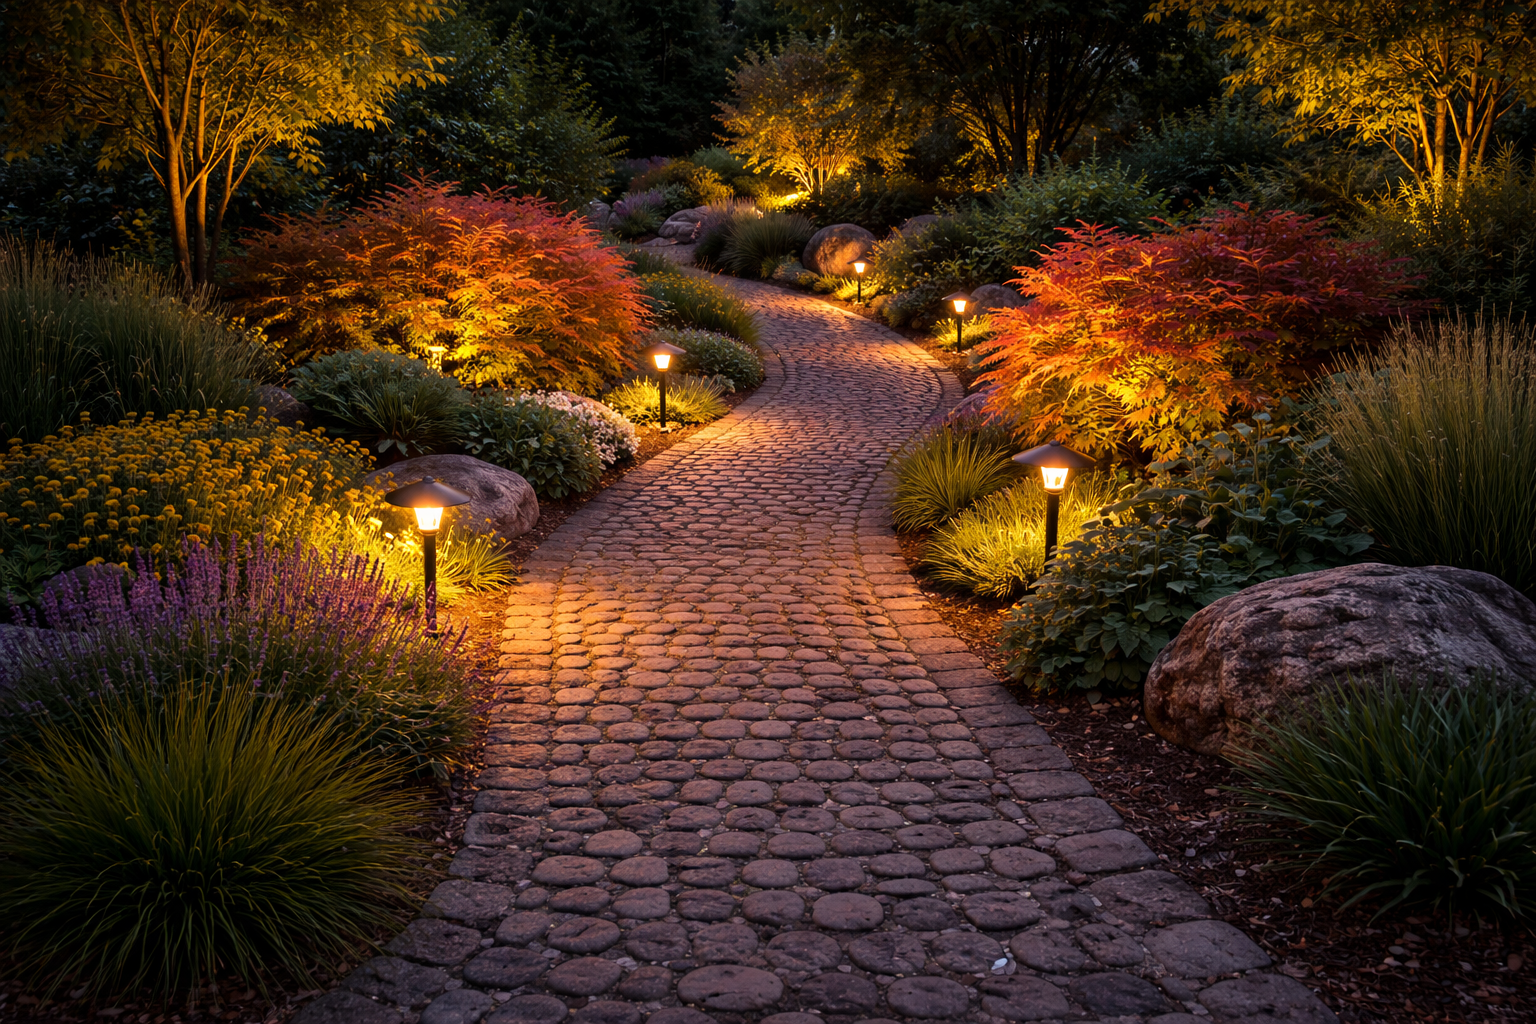
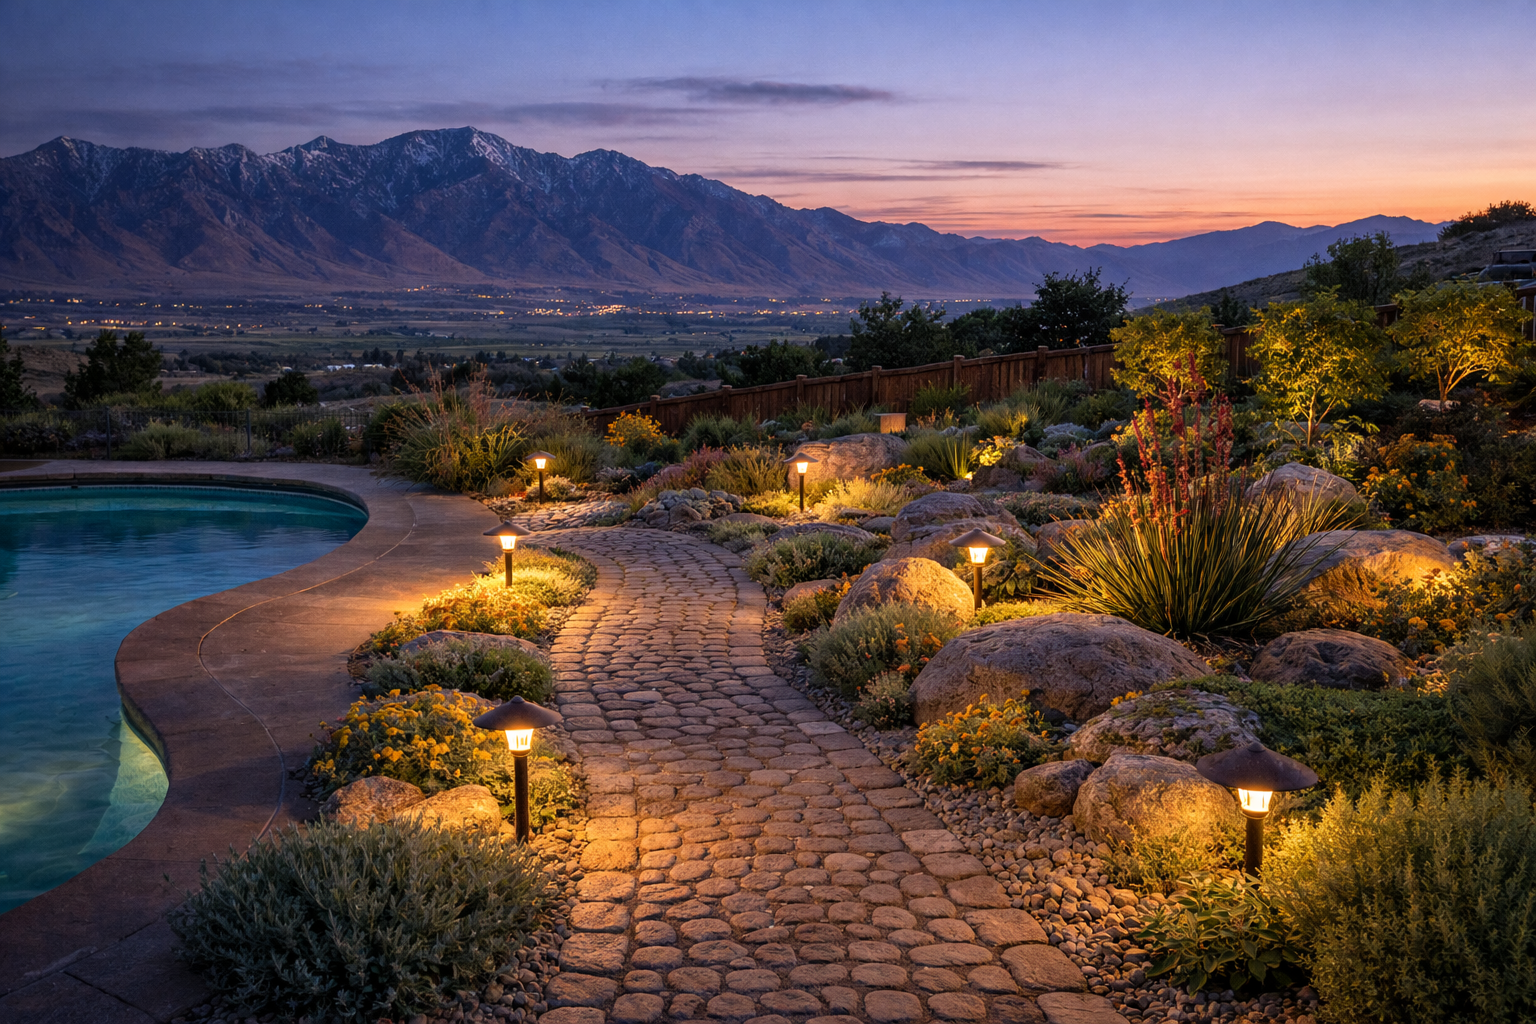
This mistaken idea of denouncing pleasure and praising pain was born and we will give you a complete account of the system, and expound the actual teachings of the great explorer of the truth, the master-builder of human happiness.
Get the Spacing Right
There is no single magic spacing number because fixture brightness, beam spread, path width, and surrounding materials all matter. But as a design principle, lights should create gentle overlap, not isolated bright circles with dark gaps between them.
If the walkway is narrow, fewer fixtures are often needed than people think. If it is wider, textured, or includes turns and steps, you may need a bit more density. The key is to test placement before final installation. Manufacturers like Volt Lighting recommend planning the layout first and adjusting based on the actual effect at night rather than guessing from daytime appearance alone.
A good rule of thumb is this: if the brightest thing in the scene is the light fixture itself, the design needs work. The ground should glow. The fixture should not scream for attention.
Layer the Lighting for a Designer Look
If you want amazing results, do not rely on path lights alone. The most attractive outdoor lighting uses layers. Kichler’s outdoor lighting guidance notes that good outdoor plans usually combine multiple lighting types rather than relying on one fixture style everywhere.
For garden walkways, think in three layers:
1. Path lighting This is your functional base layer. It helps people move safely and comfortably.
2. Accent lighting Use small spot or accent lights to highlight a beautiful shrub, ornamental tree, boulder, urn, or architectural detail near the path. This adds depth and keeps the walkway from feeling flat.
3. Ambient glow This can come from nearby wall lights, step lights, deck lights, or subtle spill from a patio or porch area. It softens the scene and helps the garden feel connected rather than chopped into isolated bright spots.
This layering approach is what separates “we added some lights” from “wow, this place looks incredible at night.”
Match the Lighting Style to the Landscape Style
The fixture itself matters, but the mood matters more. The best-looking walkway lighting fits the personality of the garden.
For a cottage or English-style garden Choose softer fixtures in bronze, aged brass, or matte black. Let lights peek through perennials, roses, lavender, catmint, or ornamental grasses. Keep the glow gentle and romantic.
For a modern landscape Use clean-lined fixtures with simple geometry. Fewer lights usually look better. Let negative space do some of the heavy lifting. Crisp placement matters more than ornament.
For a rustic or natural garden Use earthy finishes and avoid anything too shiny. Tuck lights near boulders, timber edging, or drought-tolerant plantings so the lighting feels integrated rather than installed.
For a formal front walk Symmetry can work beautifully, but keep brightness controlled. Formal does not mean overlit. It means disciplined.
In every case, the path should feel inviting, not theatrical. Unless you are lighting a garden for a royal wedding, subtle usually wins.
Pick LED Fixtures and Make Sure They’re Rated for Outdoor Use
LED is usually the smartest choice for walkway lighting because it uses less energy, lasts longer, and requires less maintenance than older bulb types. Outdoor lighting guides commonly recommend LED for its efficiency and long service life.
Just as important, choose fixtures that are properly rated for the conditions where they will live. Kichler explains that outdoor fixtures are typically classified for damp or wet locations, and open landscape areas exposed to rain and sprinklers need wet-rated products. Lumens likewise notes that wet-rated fixtures are required for direct exposure, while damp-rated fixtures are for protected locations.
For garden walkways, that usually means:
- wet-rated fixtures for open beds and exposed path edges
- durable materials such as brass, copper, composite, or quality coated aluminum
- sealed connections that hold up to irrigation, weather, and seasonal temperature swings
Do not buy cheap fixtures that look good for six weeks and then start leaning, fading, or filling with water. That bargain will become yard clutter with wiring.
Low-Voltage Systems Are Usually the Sweet Spot
For most residential garden walkways, low-voltage lighting is the practical favorite. It provides plenty of design flexibility, is widely used for landscape systems, and typically offers a good balance of performance and safety when installed correctly. Manufacturers such as Kichler and Volt provide planning guidance specifically around low-voltage landscape systems.
A basic low-voltage system includes:
- a transformer
- low-voltage cable
- path or accent fixtures
- connectors or junction points
- optional timers, photocells, or smart controls
This is the system most homeowners think of when they picture professional-looking landscape lighting.
Do Not Ignore Voltage Drop
Here comes the technical bit that saves people headaches.
If you run too many lights on one long cable run, the lights farthest from the transformer can appear dimmer. That is called voltage drop. Kichler’s landscape guidance specifically recommends calculating voltage drop and notes that long runs, wire gauge, and total load affect how much voltage reaches the last fixture.
What homeowners need to know is this:
- longer runs increase voltage drop
- more fixtures on one run increase voltage drop
- undersized wire makes voltage drop worse
- central transformer placement can help
- hub or parallel-style layouts can reduce uneven performance
Volt Lighting also notes that hub-style or parallel wiring can reduce voltage drop compared with long series-style runs.
You do not need to become an electrical engineer, but you do need to respect the math. Otherwise, half your walkway will look elegant and the other half will look tired.
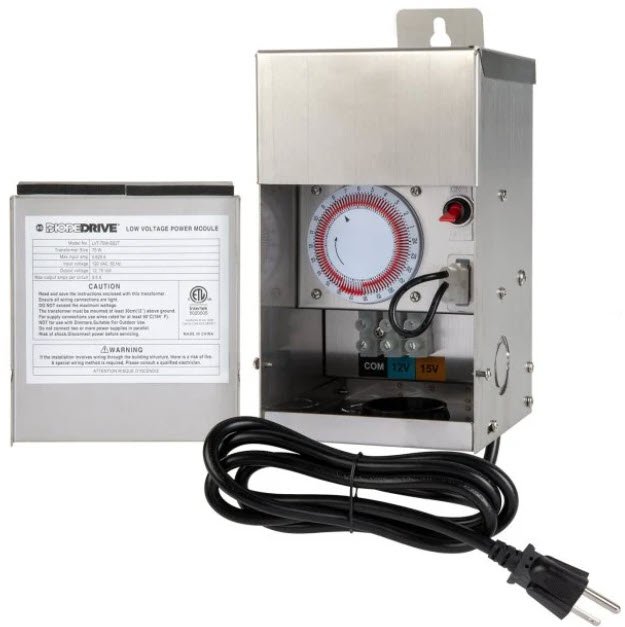
Outdoor Lighting Transformer
Put the Transformer in the Right Place
The transformer should be located where it is protected, accessible, and reasonably central to the lighting zones. Keeping it more central can shorten wire runs and improve system performance. Kichler’s power-supply guidance specifically notes that central placement can help reduce long-run issues tied to wire gauge and voltage drop.
Also, manufacturer safety instructions for outdoor low-voltage transformers commonly call for connection to a weatherproof, GFCI-protected outdoor receptacle.
That means this is not the place for improvisation and optimism. Electricity is wonderful, but it is not sentimental.
Use Shields, Louvers, and Downward Light
Glare ruins outdoor lighting fast. If you can see the raw light source while walking the path, the fixture is either too bright, too exposed, or aimed poorly.
DarkSky’s guidance emphasizes directing light only where needed and avoiding unnecessary spill. Outdoor lighting guides also recommend using shields or louvers and aiming fixtures away from sight lines to reduce glare.
For walkways, that means:
- choose downward-facing fixtures
- avoid exposed bulbs
- keep fixture height proportionate to the planting and path width
- do not aim accent lights across the walking route at eye level
- test the view while standing and walking, not just while kneeling in the flower bed pretending to be a daffodil
Add Controls So the System Works for Real Life
A lighting system should fit how you actually live. Controls make a big difference. DarkSky recommends using lighting only when useful and using timers, motion sensors, or dimming when possible.
For most garden walkway systems, smart choices include:
- a photocell so lights come on at dusk
- a timer so they shut off later at night
- motion activation in side-yard or utility areas
- dimmable zones where the system supports it
This gives you the benefit of nighttime beauty without leaving everything blazing until sunrise like your petunias are hosting a casino.
Think About Steps, Curves, and Edges
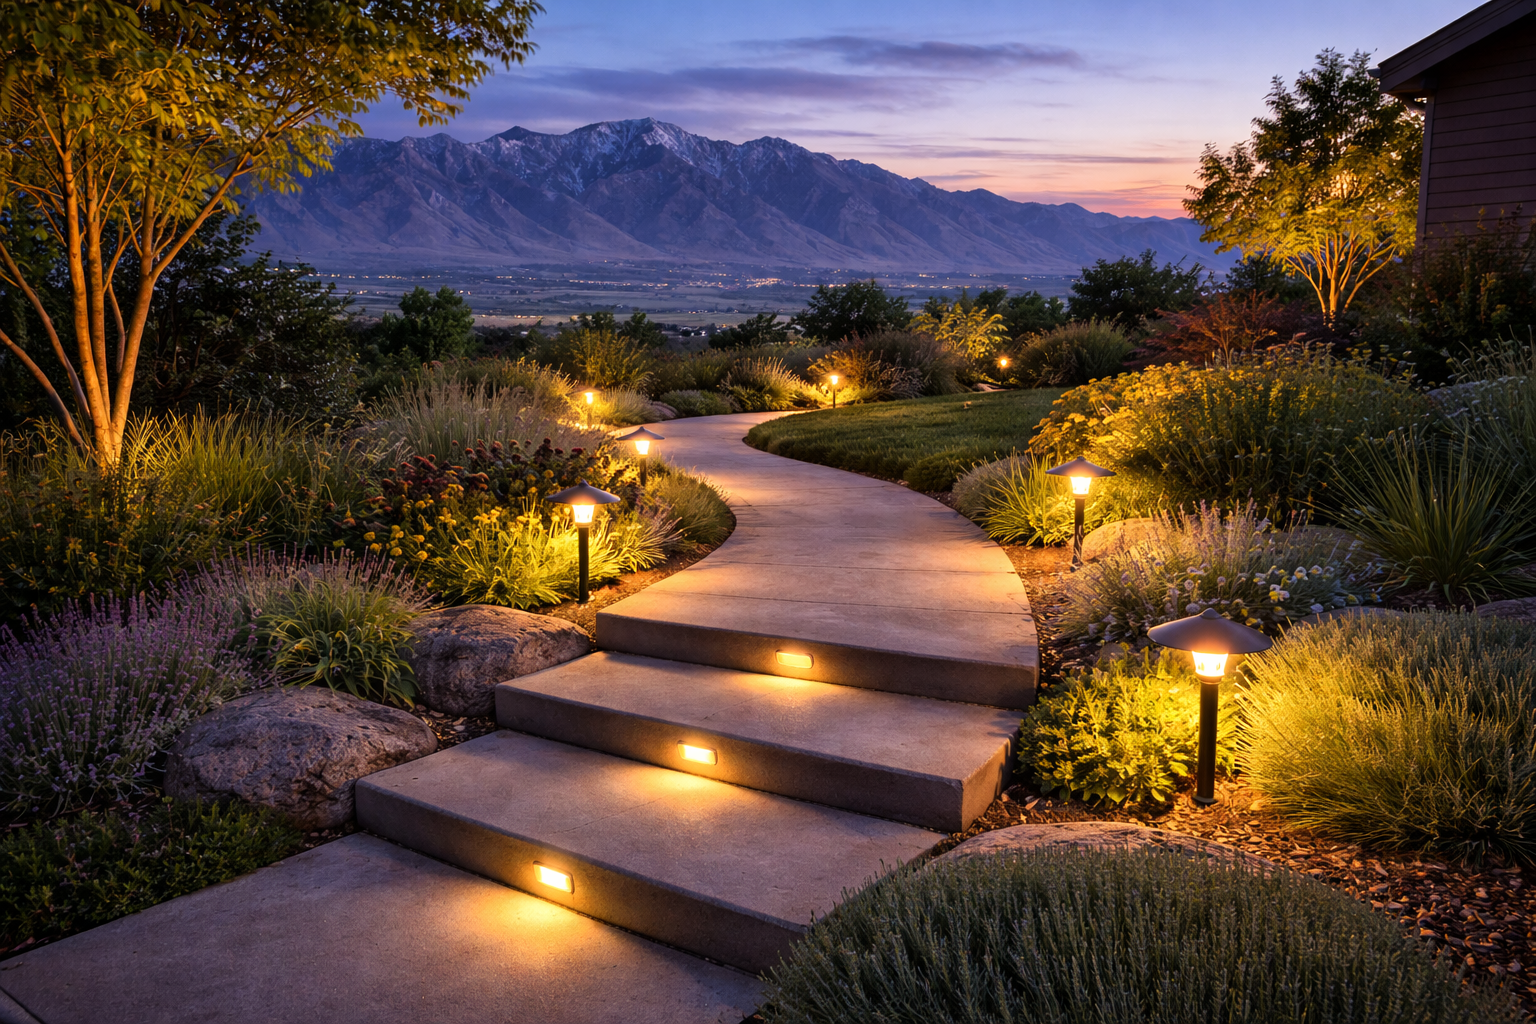
The most important places to light are not always the longest straight stretches. They are the places where someone could misstep.
Pay extra attention to:
- steps
- narrow gates
- transitions from patio to path
- steep edges
- curves hidden by planting
- changes in material, such as gravel to stone or stone to concrete
Those are the locations where lighting prevents accidents and makes the path feel intuitive. In design terms, this is where lighting earns its paycheck.
Keep Maintenance in Mind From Day One
A beautiful lighting plan can slowly turn messy if plants swallow the fixtures, lenses get dirty, or cheap stakes shift over time. Outdoor lighting guides recommend seasonal cleaning and checking for debris, and that advice is worth following.
At least a couple of times a year:
- wipe dirt from lenses
- straighten tilted fixtures
- trim back plants covering the beam
- check wire connections
- replace failed components promptly
- reassess brightness after major garden growth
Garden lighting is not exactly set-it-and-forget-it. Plants grow. Mulch moves. Life gets rowdy.
Common Mistakes to Avoid
The fastest way to improve a lighting project is to avoid the classics:
- using lights that are too bright
- choosing cool-white bulbs
- spacing fixtures too evenly and too close together
- lighting both sides of every path by default
- ignoring voltage drop
- using damp-rated fixtures where wet-rated fixtures are needed
- exposing the light source to direct view
- failing to test the effect at night before finalizing placement
Most bad landscape lighting is not ugly because the fixtures were expensive or cheap. It is ugly because the plan was too aggressive.
Final Thought: The Best Garden Lighting Feels Effortless
The most successful garden walkway lighting does not call attention to itself. It quietly guides guests, flatters the landscape, and makes the garden feel calm, safe, and polished. It works because every fixture has a purpose, every beam is controlled, and the overall effect feels warm and welcoming.
So if you want amazing results, remember this: light the path, not the whole planet. Use warm tones, shield the glare, layer the scene, and let the garden still feel like a garden at night.
That is where beauty lives.